Audio Solutions
Lavalier Microphone
One of the first recommendations for improving audio quality without breaking the bank is to use a lavalier microphone, such as the Rode Lavalier. This type of mic can be connected directly into a computer and is ideal for reducing background noise. Whether it's the sound of pets, children, or general household activities, a lavalier microphone can help to ensure your recordings require fewer retakes due to unwanted sounds.
Blue Yeti Microphone
Another popular choice is the Blue Yeti microphone. Many users appreciate its ‘plug and play' design, which simplifies the setup process. The Blue Yeti is often mounted on an arm to facilitate better positioning and can be used for interviews, summits, or teaching online classes. Priced around $100-$120, it's a great starter microphone for recording courses, social media content, or any other type of audio-heavy project.
Note: You only need to choose one of these options (lavalier or Blue Yeti) to start with, as both can significantly enhance your video's sound quality.
Lighting Solutions
Economy Lighting Options
Good lighting is crucial for creating professional-looking videos. If you're working with a modest budget, consider the following:
Tree Lights with Adjustable Arms
A common starter option for many are the ‘tree lights', which feature adjustable branches that can help brighten up your recording space effectively.
Umbrella Lights
Umbrella lights are favored due to their ease of use, ability to diffuse light softly, and portability. They are incredibly affordable (around $15-$20 each), lightweight, and quick to set up and take down. Depending on your needs and space, you might need one or two of these lights.
Ring Lights
For those with limited space, ring lights are an excellent alternative. They sit flat and occupy less room, making them suitable for desktop setups. Provided in a range of sizes and price points, ring lights offer flattering lighting for the face, although some may find the reflective ring in the eyes distracting.
Mid-Range Video Upgrades
Webcams
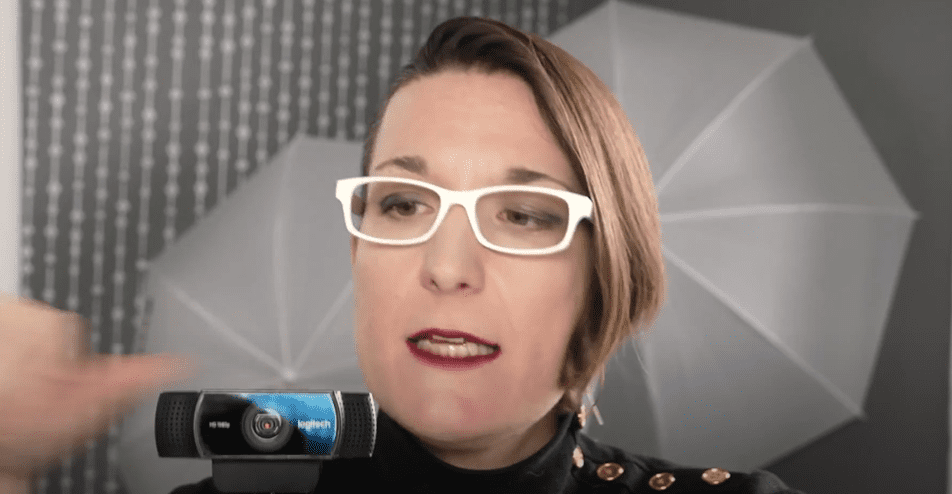
Investing in a quality webcam can further elevate your video quality. Here, the Logitech C920 is recommended, but other models in the same series can also provide similar benefits. A webcam like this can:
- Transmit and record in 1080p.
- Offer adjustments for white balance, contrast, and brightness through the Logitech gaming app.
- Provide additional features such as zoom, background blur, and angle adjustment for optimum framing.
Tip: Instead of mounting the webcam on top of your monitor, use a simple tripod or even a stack of books to find the perfect angle for your recordings.
Remember: Although higher-end webcams come with built-in microphones, they're typically not the best quality. It's still advisable to use a dedicated microphone like the ones mentioned above.
Conclusion
To create high-quality videos on a budget, it's essential to focus on both audio and lighting enhancements. With the suggested microphones and lighting solutions, you can produce professional-level content. As for video, a good webcam will suffice for most online content, especially when combined with the right audio and lighting setup.
Ready to take your video production to the next level? Start with these basic yet powerful tools and watch your content quality soar.