Upgrading Your Video Production Quality for Online Courses
Introduction
Creating professional-looking videos can significantly enhance the appeal of your online courses. Even if you're not ready to hire a videographer, there are steps you can take to improve the quality of your video content substantially. By investing in the right equipment and understanding how to use it effectively, you can elevate your videos and provide a richer learning experience for your audience.
Level Up Your Video with a DSLR Camera
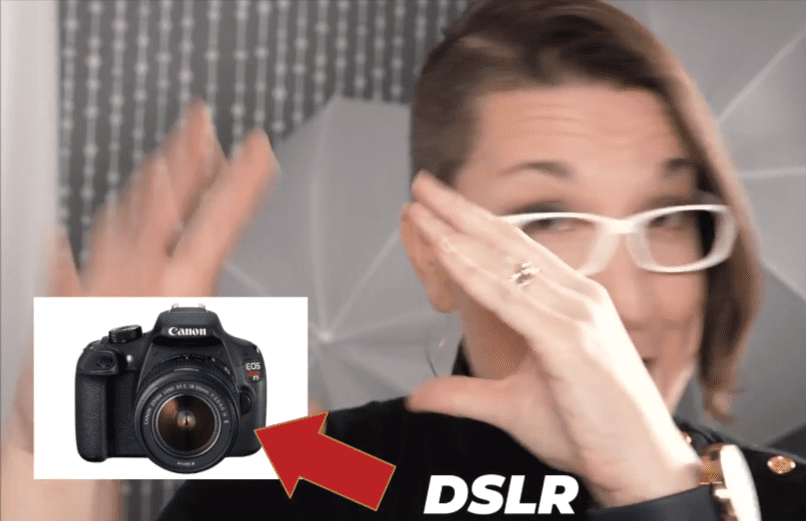
What is a DSLR?
A Digital Single-Lens Reflex (DSLR) camera is a versatile piece of equipment that has become accessible for beginner and amateur videographers. A DSLR camera offers a blend of high-quality image capture and video recording features.
Why choose a DSLR for video?
DSLR cameras are known for their high-definition recording capabilities, and most models can deliver 1080p resolution, which is ample for online course content. It's important to note that while these cameras can record stunning visuals, there is often a recording limit ranging from 20 to 30 minutes before needing a restart. However, for most online course videos, this limitation is generally acceptable.
Recommendations for getting started:
– Select an entry-level DSLR with video capabilities.
– Ensure it offers at least 1080p video quality; 4K resolution is usually unnecessary for beginners.
– Check for a user-friendly interface to ease the learning curve of operating the camera.
Enhance Your Lighting with Softboxes
The simplicity of umbrella lights:
Previously, we discussed using umbrella lights as an optimal starting point for video lighting. Umbrella lights are cost-effective and can significantly improve the quality of your videos. They are often sufficient for most online course requirements.
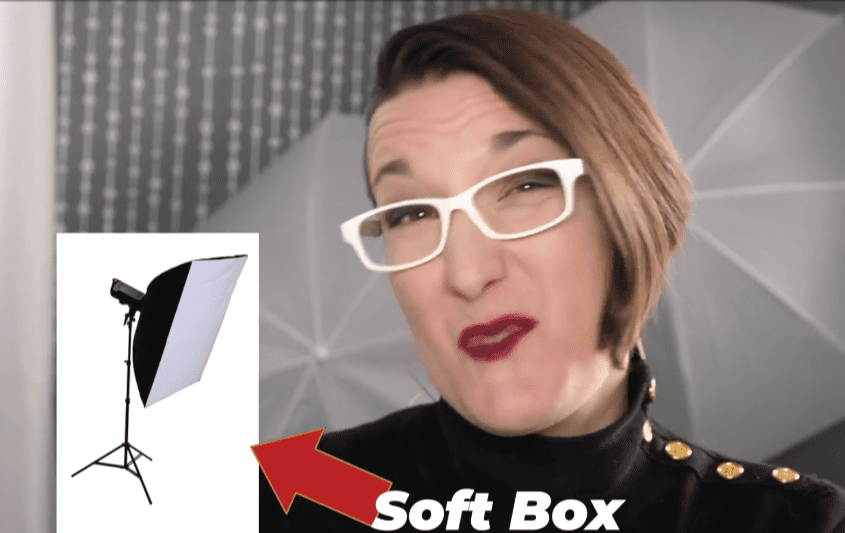
Advantages of softboxes:
Softboxes are an excellent upgrade from umbrella lights. They offer more powerful lighting options and directional control, which can influence the mood and clarity of your videos.
Additional features of softboxes:
– Some softboxes allow you to control the light temperatures, helping to adjust between warmer or cooler visuals.
– Investing in a softbox can provide a more professional look with even and diffused lighting.
Improve Your Audio Quality with Lavalier Microphones
Why good audio matters:
Audio quality is crucial for video courses; poor audio can distract or even deter your audience. Thus, investing in a reliable microphone is important for maintaining professionalism.
Why choose a lavalier microphone:
– A lavalier microphone, often clipped to the speaker's clothing, ensures consistent audio clarity since it remains close to the speaker regardless of their movements.
– For a more dynamic setup, such as interviewing multiple individuals, wireless lavaliers offer flexibility without sacrificing audio quality.
Budget considerations for microphones:
– It's advisable to invest around $100 or more for a dependable microphone.
– Cheaper microphones, though tempting, often result in issues later on that can be challenging to fix in post-production.
– Examples of durable options include products like the Blue Yeti, which has a long lifespan even under significant wear.
Conclusion
By focusing on upgrading your gear in these three core areas—video, lighting, and audio—you can dramatically increase the professional quality of your videos for online courses. A DSLR will enhance your visual presentation, a softbox will provide better lighting control, and a high-quality microphone will ensure your message is clearly heard. These investments not only improve the quality of your content but also contribute to the learner's overall experience.
Remember, while tools can help in achieving a polished look, the content of your course is paramount. With the right combination of substance and style, your videos can become highly effective educational materials.