Lighting Techniques for Video Production
Welcome to this tutorial on how to effectively use lighting for video production. Whether you’re working with natural light or studio lights, these tips will help you achieve professional-looking results. I'm David, and I'll be guiding you through the process.
Natural Lighting
Positioning with Natural Light
The key to using natural light is ensuring that it is always in front of you, rather than behind. When natural light is behind you, it can cause the foreground (usually the subject) to become underexposed, appearing too dark against the bright background.
Quick Demonstration
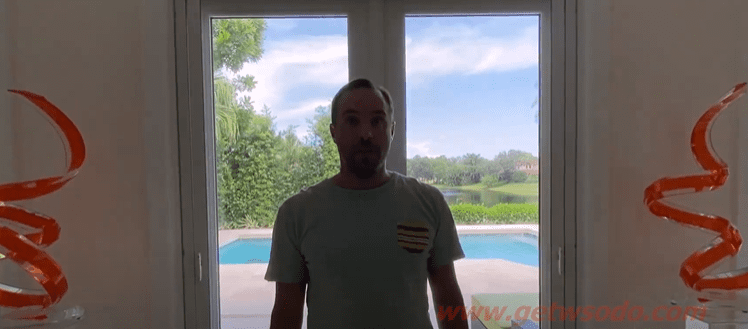
When I switch positions, so the natural light is behind me, you can see the effect firsthand. I become much darker, and my features are less visible.
Proper Angle for Natural Light
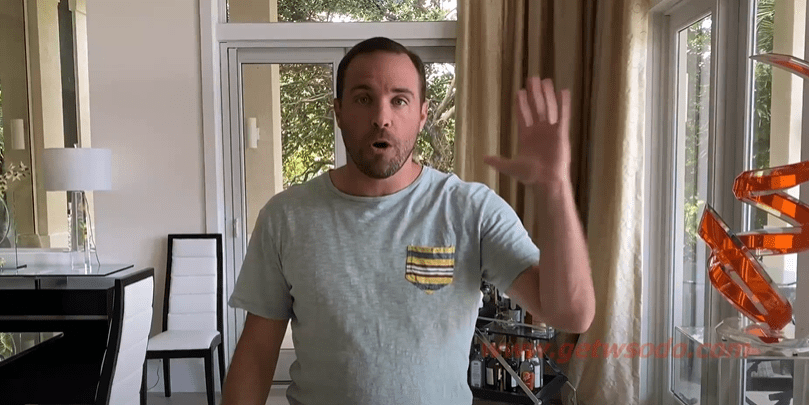
An angle that often works well is having your natural light source at a 45-degree angle to the subject. This can add a pleasing level of dimension to the subject’s features, creating a blend of light that contrasts with the shadows softly.
Direct vs. Angled Light
However, straight-on light from a window can be simpler and easier to manage, as it minimizes shadows and provides an even distribution of light across my face. Experiment with both straight-on and angled lighting to see what best suits your shot.
Studio Lighting
When Natural Light Isn’t Enough
Moving on from natural light, there are times you might find yourself in a setting without adequate natural light, such as a dark room. In these instances, artificial studio lights become essential.
The Impact of Studio Lights
To demonstrate, when I turn on a basic two-light setup, you can immediately see the difference. No matter how dark the room, well-positioned lights will illuminate the subject clearly and eliminate unwanted shadows.
Setting Up Studio Lights
Budget-Friendly Lighting Options
Studio lights can be quite affordable. I’ll show you a simple setup with two lights that cost $80 in total. The lights are arranged at a 45-degree angle to create depth and dimension similar to the effect of natural light.
Balancing Light Intensity
By positioning one light closer than the other, we can play with the intensity and reach of each light, creating varied shadowing for a more dynamic look.
Combining Natural and Studio Lights
Let’s touch on the role of natural light when using studio lights. If you have a source of natural light, such as a window, behind you, normally this isn't ideal. However, when coupled with the studio lights placed correctly in front of you, it can enhance the overall lighting by adding a touch of backlight, contributing to the fullness of the scene.
Practical Lighting Tips
Lastly, let’s look at the practicality of setting up these lights. These Velcro-based softbox lights are user-friendly and designed for quick adjustments.
Assembly Instructions
- Light Stand: It comes with an adjustable stand that is easy to set up.
- Softbox Attachment: The softbox screws into the stand with a simple twist and lock.
- Bulb Installation: With a push and twist, you insert the light bulb into the softbox's structure.
- Securing with Velcro: The sides of the softbox are firmly held in place using Velcro.
Flip the switch, and you’re ready to start filming with proper lighting.
Conclusion
Remember, primary light sources should always be in front of you, ideally at a 45-degree angle for the most flattering appearance. Using light sources allows for some flexibility with natural light as a secondary or background feature. Experiment with these setups to find what works best for your production.
I hope you found this tutorial helpful. Should you have any questions or need assistance with your lighting setup, don't hesitate to reach out.
Thank you for joining this session on lighting techniques for video production. Happy filming!