Video Recording Techniques Using a Smartphone Camera
Introduction
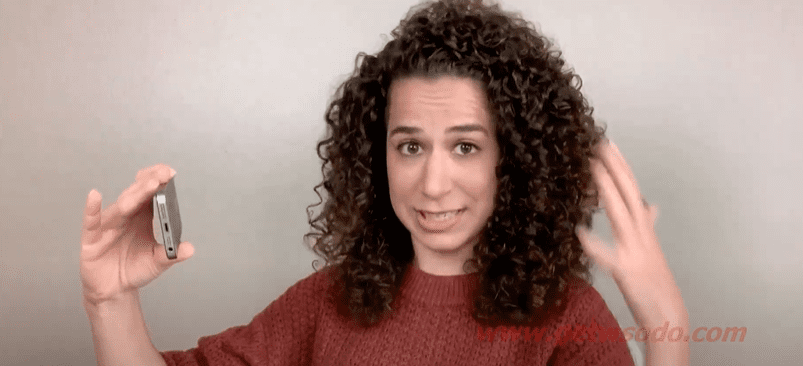
Welcome to our training session on maximizing the quality of videos recorded using a smartphone camera. Whether you own an iPhone, Android, or any other smartphone, understanding when to use the front or back camera will enhance your video production. We have a demonstration ready to help guide you through this process, featuring an “ancient” iPhone for practical engagement.
Understanding Camera Selection
Back Camera for High-Quality Recording
The back camera (also known as the rear camera) on your smartphone typically offers higher resolution, producing stronger, crisper, and clearer images. This lens is designed for superior photo and video capture quality compared to the front camera. Here's why it's preferable for certain types of recordings:
- Better Resolution: The back camera lens usually boasts superior specifications with higher megapixel counts and better light sensors.
- Ideal for Pre-recorded Videos: Whenever you are recording videos that will be edited or uploaded later, such as vlogs, instructional videos, or creative content, prioritize using the back camera.
Front Camera for Convenience and Interactivity
The front camera, while still producing good quality, often has a lower resolution. Despite this, it remains useful:
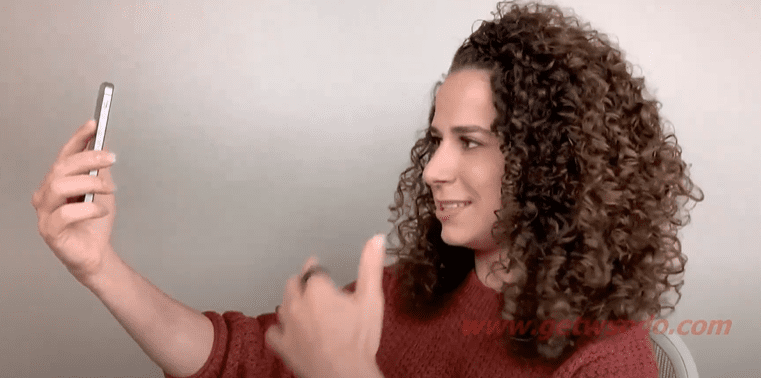
- Selfie-Style Videos: A front camera comes in handy for on-the-go recordings or when you need to see yourself while filming, ensuring you're centered and in the frame.
- Live Sessions: Streams like Facebook Live require your presence in the frame from the start without the opportunity for post-editing. The front camera lets you interact with your live audience and read comments on the go.
Preparing Your Shot with the Back Camera
When setting up to record with the back camera, follow these steps for ideal framing and focus:
- Set Up: Position your tripod and phone where you believe it captures your desired angle.
- Test Recording: Hit ‘record,' walk into your scene, deliver a few lines, and perform anticipated movements to check the frame coverage.
- Review: Stop recording, review your test footage, and adjust the positioning as needed.
- Repeat: Iterate this process until the framing is perfect. This technique will become faster as you gain experience with your recording setup.
Tips for Recording Execution

When you're ready to film the final take:
- Record Entry: After hitting ‘record,' calmly walk into the frame and position yourself.
- Pause: Before speaking, take a moment to center yourself, creating a pause that allows for seamless editing later.
- Conclude with Composure: Finish your speech, hold position for a brief period, then walk off. This will facilitate clean editing of your video's start and end.
Recording with the Front Camera

Here are a few things to keep in mind when using the front camera for lives and selfie-style videos:
- Connection: Make sure to look directly into the camera lens, not at the screen, to maintain eye contact with your audience.
- Engagement: Review comments or interact only at set points during the live session, staying focused on the lens to keep your audience engaged.
Pro Tips
- Clean Your Lens: Before you start filming, clean your smartphone's camera lenses to remove fingerprints and smudges, ensuring a crisp image.
- Use a Proper Cleaning Cloth: Employ a lens cleaning cloth or a soft fabric like a t-shirt to wipe the lenses gently.
Conclusion
Leverage the back camera for most pre-recorded videos to utilize its higher quality. Reserve the front camera for live interactive sessions and casual selfie-style videos. Remember to clean the lens, maintain direct lens contact, and review your frames. Now you're set to create professional-looking videos right from your smartphone.
Go forth, apply these insights, and crush your next video project! See you in our next session for more video recording tips and techniques.

